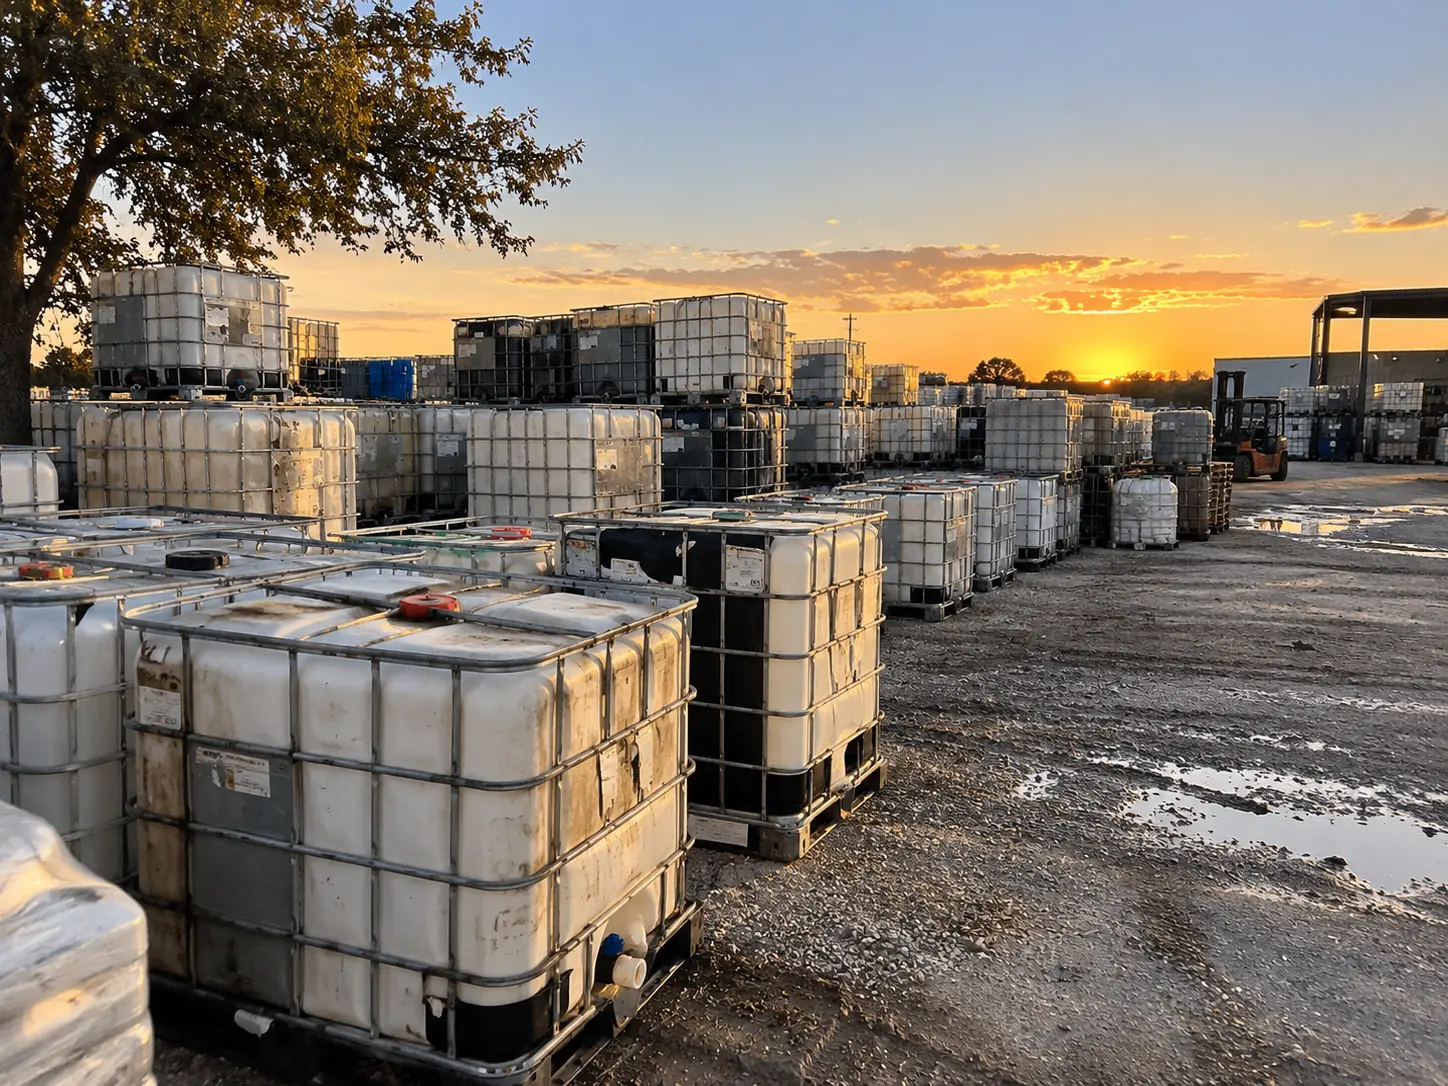
Discharge faults have a short list of causes and almost all of them are physics rather than hardware. Working through them in order will resolve the great majority of complaints without anybody touching a valve.
Problem one: it slows and stops. The tote is sealed.
This is by far the most common. Liquid leaving a closed vessel has to be replaced by something, and if no air can get in, a partial vacuum forms. The flow slows, then stops. In a flexible-walled container like an HDPE bottle you may also see the sides draw inward, which alarms people considerably.
The fix is to crack the fill cap at the top, or to fit a vented cap as standard. A vented cap has a small one-way or labyrinth path that admits air without letting liquid out, and if you discharge totes routinely it is worth specifying them on every unit rather than remembering to loosen caps.
Problem two: it never flowed properly. Check the bore and the viscosity.
A 2-inch ball valve is excellent for thin liquids and marginal for anything genuinely viscous. If you are discharging something at a few thousand centipoise through a 2-inch bore and a length of hose, the flow rate you are getting may simply be the flow rate that geometry permits.
| Viscosity | Recommended outlet | Notes |
|---|---|---|
| Water-thin (1–50 cP) | 2" ball valve | Any configuration works |
| Light oil (50–500 cP) | 2" ball valve | Shorten the hose run |
| Syrupy (500–3,000 cP) | 3" butterfly valve | Larger bore matters more than pressure |
| Heavy (3,000–10,000 cP) | 3" butterfly + heating | Consider a band heater |
| Paste-like (>10,000 cP) | Pump or tipper | Gravity will not do this |
Problem three: it weeps at the outlet. The gasket, not the valve.
When an outlet weeps, the instinct is to tighten it, and on a buttress thread tightening will not help. Buttress threads seal on a flat gasket against a seat face; the thread only provides clamping force. If it leaks, the problem is the gasket or the seat face it is pressing against.
- Inspect the gasket for swelling, hardening, cracking or a flat-spotted compression set
- Inspect the seat face for scoring, moulding flash or embedded debris
- Confirm the compound suits your chemistry — EPDM in an oil service will swell and fail
- Fit a new gasket rather than reusing the old one; it is the cheapest part on the unit
- Hand-tighten. A pipe wrench on a buttress closure cracks the collar
Problem four: it surges and splutters. Air is entering the wrong way.
If the flow pulses rather than running smoothly, air is being drawn in alongside the liquid rather than above it. Usually this means the vent path is marginal — a partially blocked vented cap, or a fill cap cracked by too little. Occasionally it means the discharge line is drawing air at a loose joint in the adapter chain.
Every junction in an adapter chain is a potential air path as well as a potential leak. Buttress to NPT, NPT to camlock, camlock to hose is three junctions. Specifying a valve with the outlet you actually need removes two of them.
Problem five: the last few gallons will not come out.
This is not a fault. The discharge outlet sits slightly above the lowest point of the bottle floor, which leaves a heel of roughly half a gallon to three gallons depending on viscosity and how level the unit is sitting. It is a design consequence, not a defect.
- 01Put the unit on a forward tilt so the heel runs toward the outlet — a wedge or pallet corner is enough
- 02Give it time; viscous heels drain slowly and the last of it is mostly patience
- 03For high-value product, a tote tipper will recover most of what tilting leaves behind
- 04For disposal, leave the heel in and declare it — a rinse makes a larger, more dilute waste stream
A standing configuration that avoids four of the five
If you discharge totes as a routine operation rather than occasionally, specifying the following at purchase removes most of this article from your life.
- Vented fill caps on every unit, not solid ones
- A valve bore matched to your worst-case viscosity, not your typical one
- The gasket compound matched to your chemistry — ask, do not assume EPDM
- A valve supplied with the end connection you actually use, fitted at source
- A permanent discharge stand with a built-in forward tilt
- A spare gasket kit on the shelf, because gaskets are the only consumable here
None of that is expensive and all of it is cheaper than a deformed bottle or an afternoon of troubleshooting a tote that was behaving exactly as designed.